If your account comes with email service, this tutorial will show you how to use it to send/receive email and manage your email options. Before you can use this service, you have to make sure your domain has been setup and your mailbox has been created.
Once the email service has been setup for your account, you will receive your login details and will be able to start using email. You may check and send email either by setting up the account with your favorite mailing program on your computer or using the web mail interface. Using the web interface you can also update your email account settings - e.g. change password, set forwarding or auto-responder.
Check and Send email with Mailing Program (Outlook, Thunderbird, Mac Mail)
Follow the steps below to configure your new account in your mailing program.
Please note that details may vary depending on the program you use, but the basic steps should be the same. The snapshosts below show how to configure your account Thunderbird. You may refer to additional details for setting up a new email account with other programs at their online help resourses. Mozilla Thunderbird, Mac Mail, Blackberry device. Add an email account.
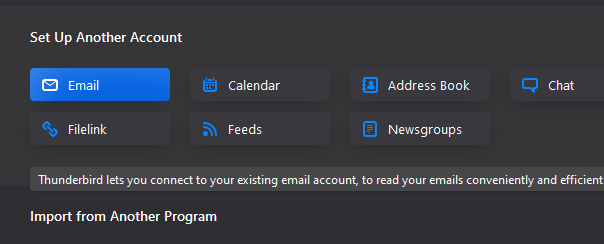
1.Add an email account.
2. Fill in your credentials, then click on Configure Manually.
4. Once you've selected Manual Config, make the following changes:
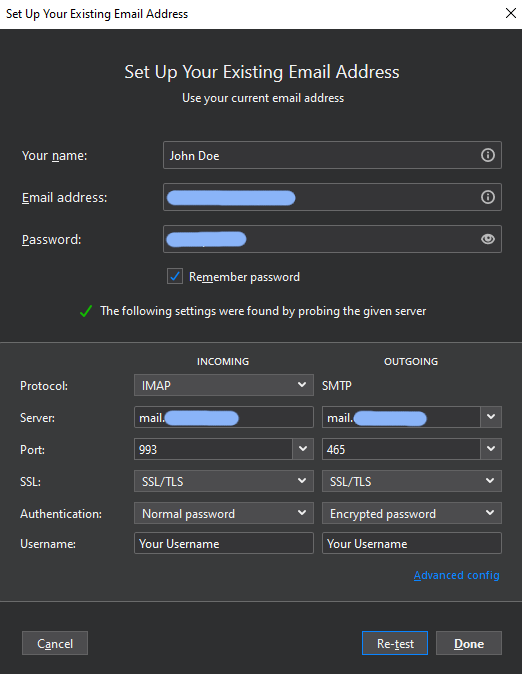
For Incoming server:
Incoming - IMAP
Server Hostname - mail.yourdomain.com
Port - 993
SSL - SSL/TLS
Authentication - Normal Password
For Outgoing server:
Server Hostname - mail.yourdomain.com
Port - 465
SSL - SSL/TLS
Authetication - Encrypted Password
Once finished click on Test/Re-test.
6. Congratulations! Your mail client is now successfully configured and ready to use!
Check & Send email using the Web Interface
You can access your mailbox online using the web interface at mail.. From here you can check and send email, change your password, set vacation messages, forward your email to another account.
Type in email.website-creator.org. within your browser address bar. You may want to bookmark this address as you will be using it frequently.

Then log in with the account information our team has provided for your mailbox. Please note that your Username is your complete email address, including your domain as shown below.

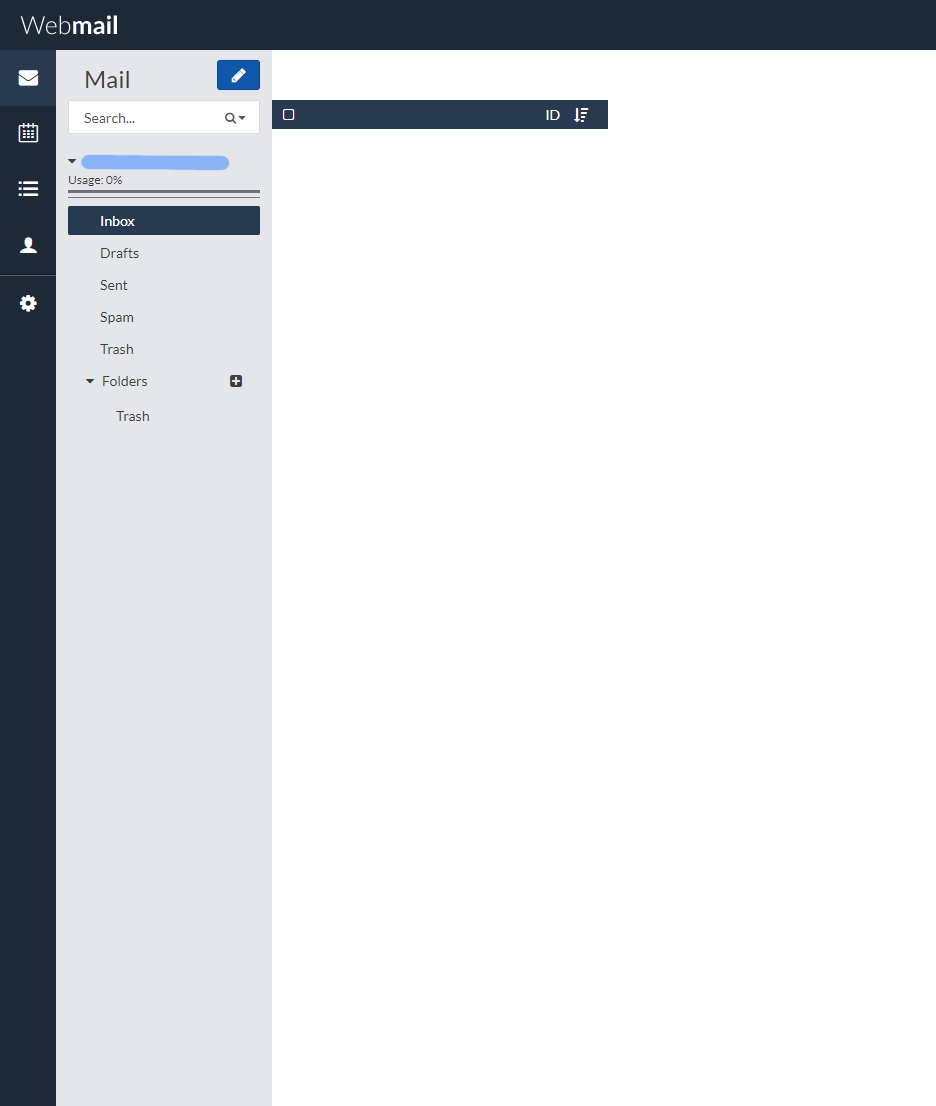
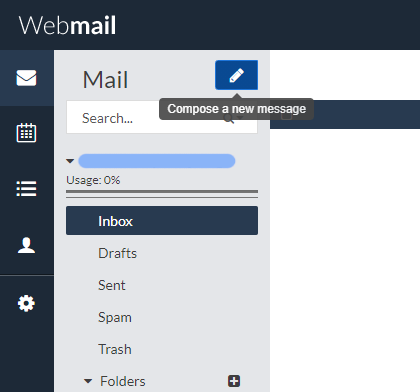
Once logged in the Home Page will load. To see all received email click on Inbox.
To compose a new message, click on the "Compose a new Message.
Prepare your message and click Send.
Change Password, Forward Email, Set Vacation Messages
From the web email interface at email.website-creator.org you can also change your account password, forward your email, set vacation messages and more.
To access these settings, login to your account as explained above. Then, from the menu on top select Preferences.
This will open a screen for managing account settings and preferences

To change your mailbox password, select Change Password option under Preferences. Fill in your current and new password and confirm the change by clicking on Save. You can also set up a security question in case you forget your password.
To forward your mailbox to another email address, from the Preferences menu, select the Advanced.
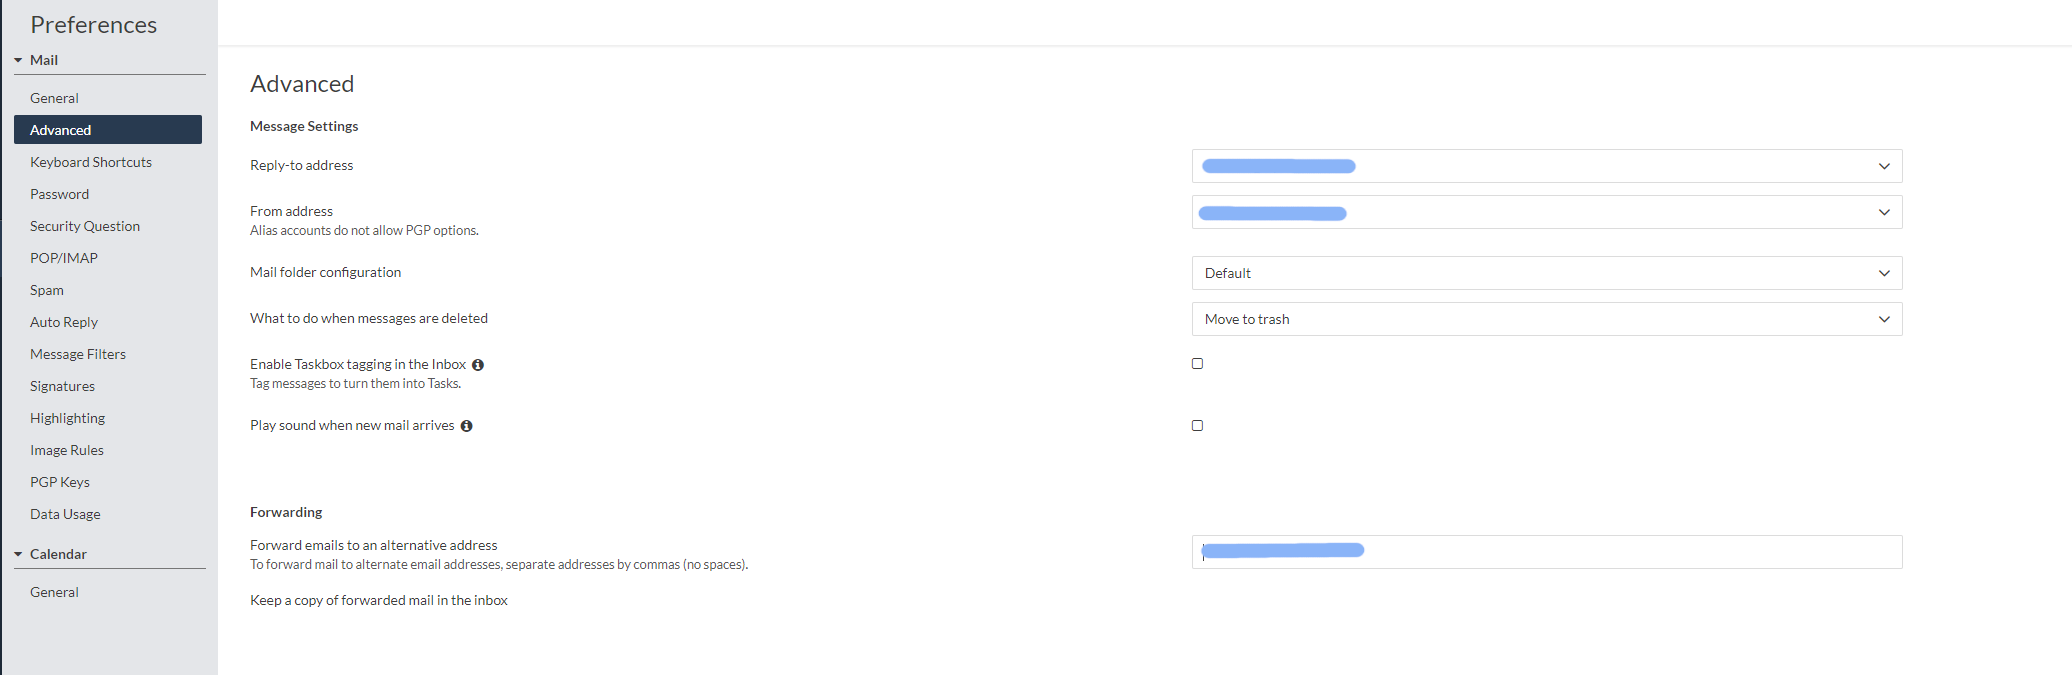
In the middle of the page you will see a field where you can add the email address where you wish to forward your emails..
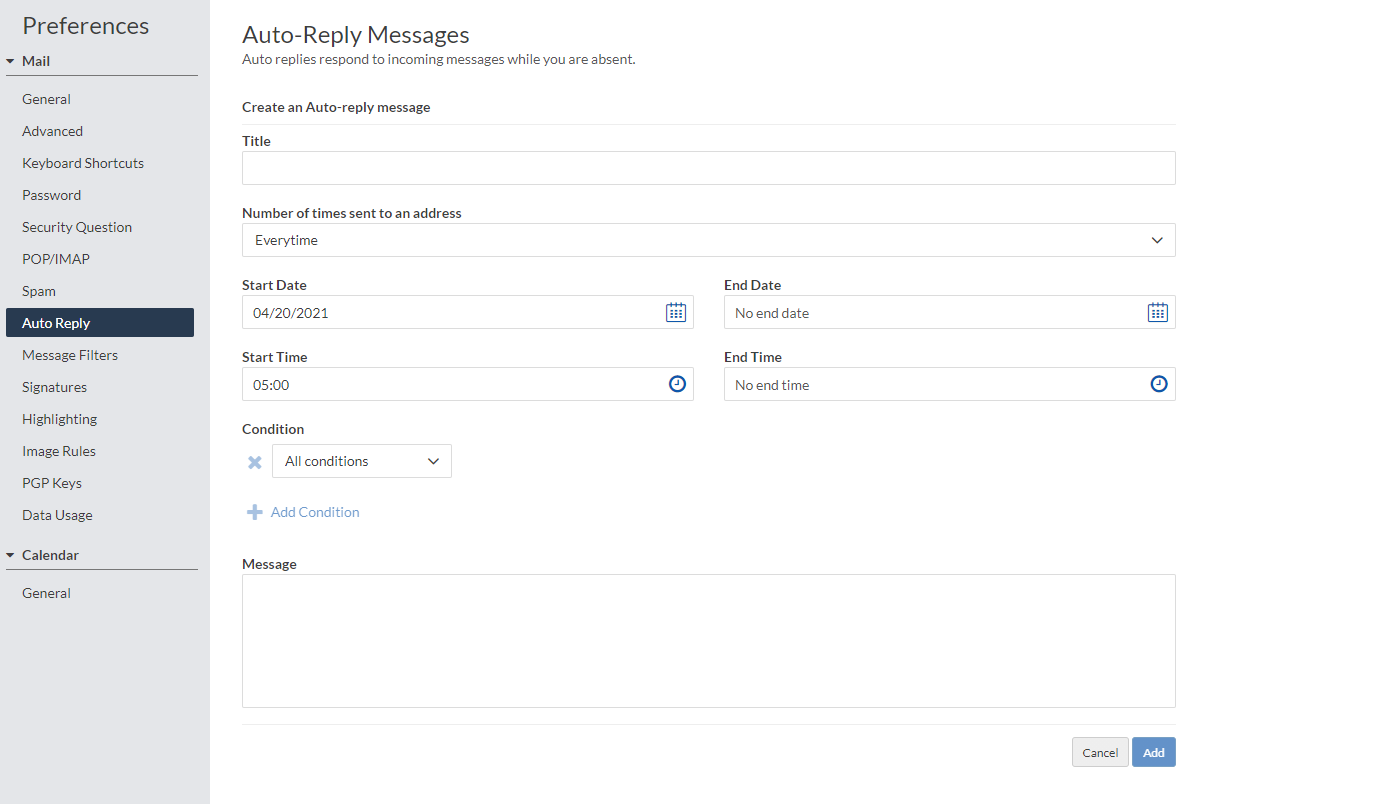
To set a vacation message or auto responder, from the Preferences page select Auto Reply fill in your preferred settings, then click on Add. The message will be sent once to every contact who sends you an email during that period. Don't forget to disable the auto-responder upon your return.