
Container Elements are elements that can be used to conveniently add additional sections to a page. Each element has its own sample content, which can be replaced to suit any needs. The element also allows any other content element to be placed within. Container Elements can be located in the Elements menu on the left. Each element icon and name gives a basic representation on the type of sample content it offers.
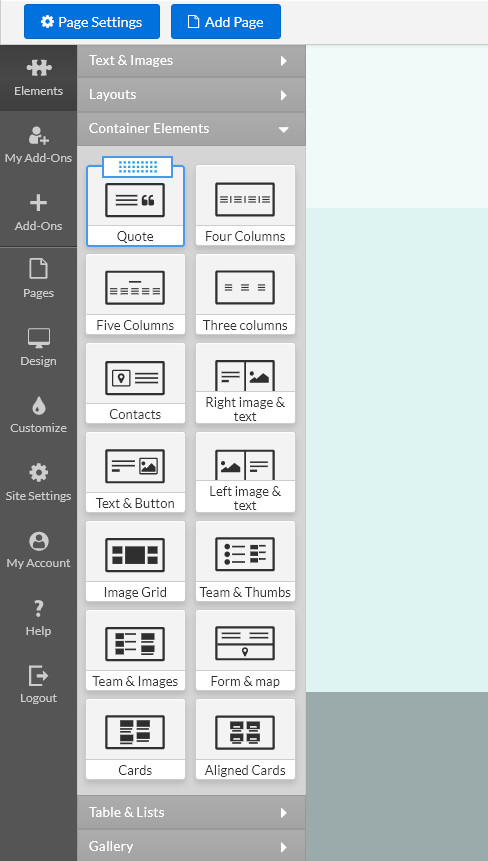
To add a Container Element to your page, simply hover over the desired preset, click on the dotted square rectangle, and drag the element to your desired location. As with all other elements, you will see blue lines appear on the page where the element can be placed.
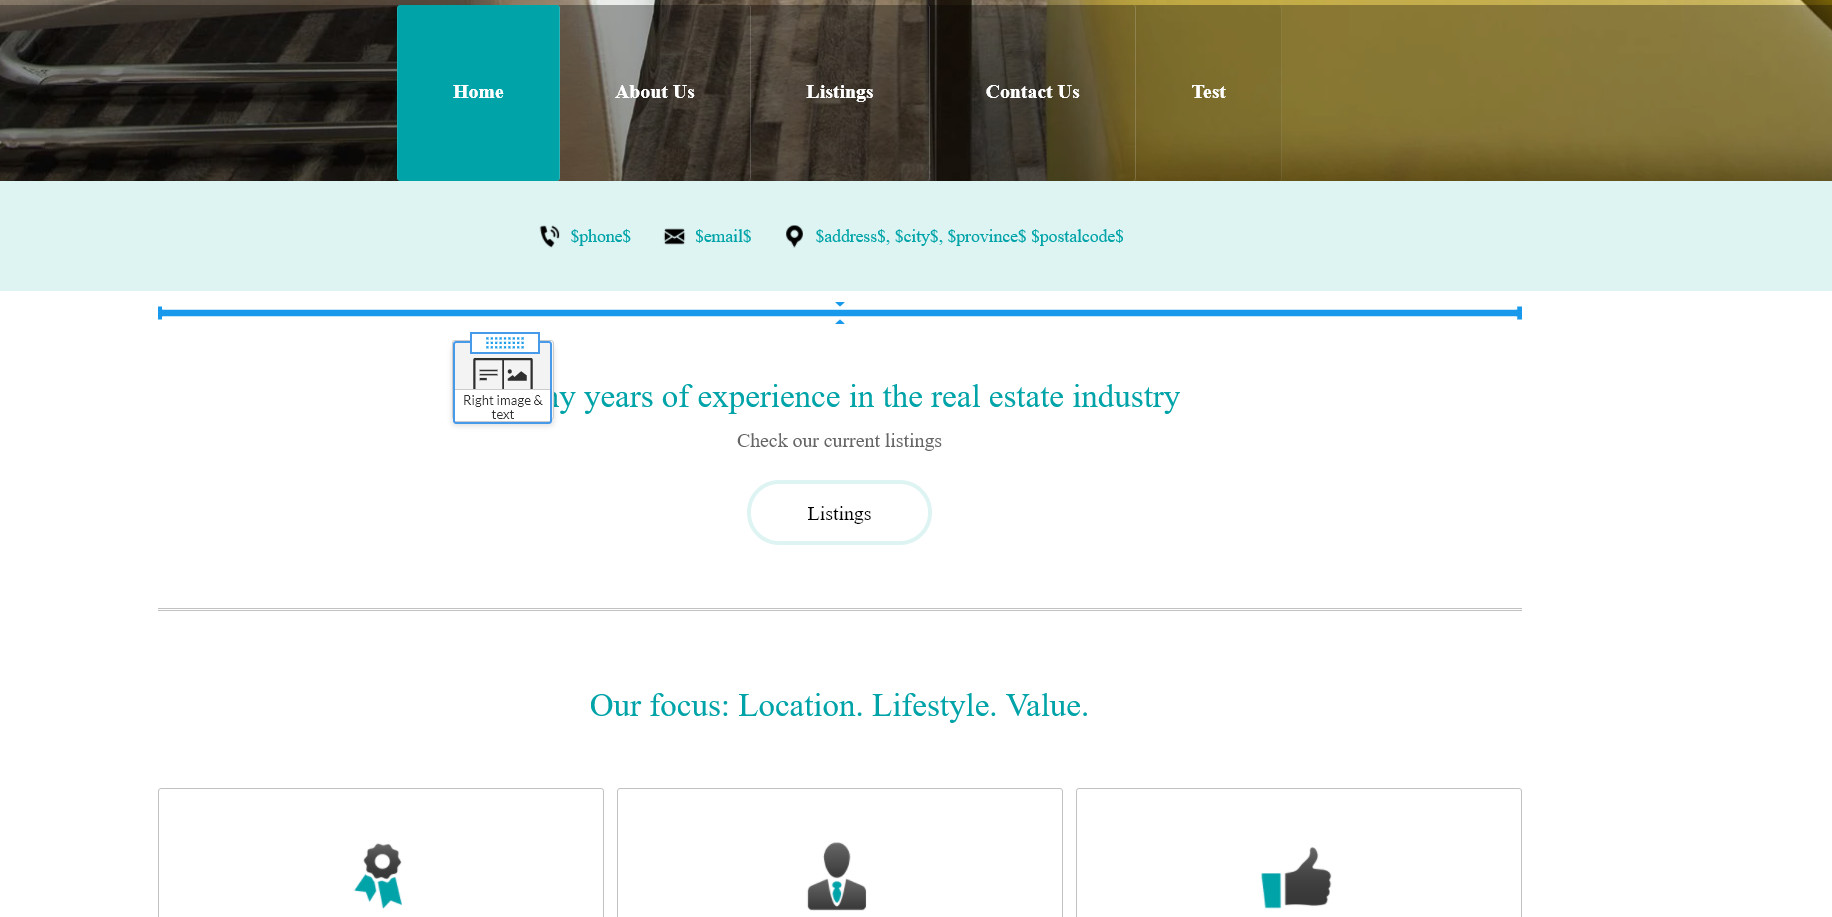
As you place the element, the page will refresh and the element specific menu will open on the right. This menu is universal for all Container Elements and is where the background and background behavior can be adjusted.
Note: Each Container Element contains an HTML snippet necessary for the element's functionality. We do not recommend modifying/deleting it, unless you are absolutely certain.
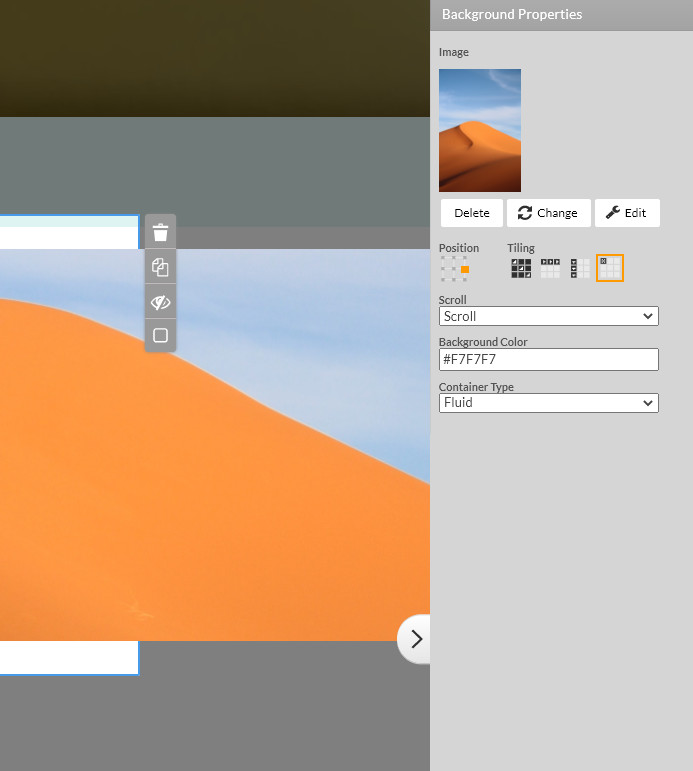
At the top you will find the options to change, edit or delete the current background image.
Below that you can adjust the position by clicking on the grey squares on the grid, the orange square represents the current position.
The Scroll option let's you choose between the default "Scroll" and "Fixed". Scroll is selected by default, and the image will scroll along with the page. Fixed option keeps the image in the same position as the page is scrolled, creating a parallax effect.
The Background Color can also be adjusted, however the color will not be visible is a background image is set.
The Container Type dropdown determines the width of the background of the container. Fluid option will allow the image to spread the entire width of the page, and Fixed will crop the sides accordingly.