
Audio and video(media) files can be added to your site:
1. Inside the Text & Images editor, using the Add Media icon. The media files will get embedded in your page. Listed below are the supported formats for upload.
Video: MP4, AVI, FLV, WMV, MOV, SWF, OGV, WebM, MKV, MPEG.
Audio: MP3, WMA, WAV, OGG.
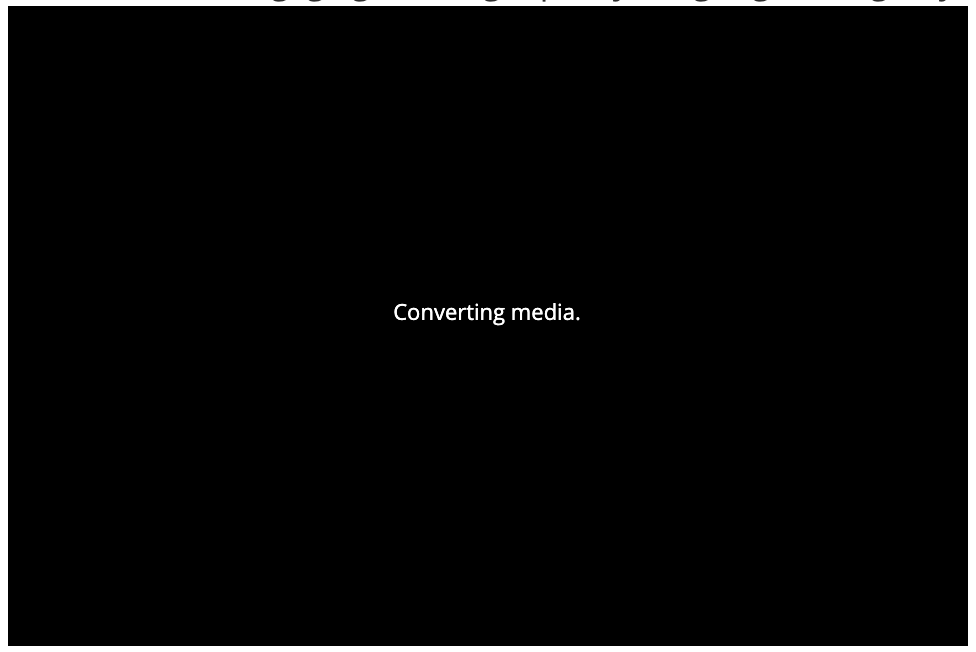
You will see the uploaded file as black square with Converting media text. After few moment reload the page and the file will be visible for playing.
2. Using the HTML Snippet option inside the Text and Images editor, or using the stand-alone HTML Snippet functionality. This way you can embed and stream media files hosted with YouTube, Vimeo, etc.
3. Inside a File Area. With this option you need to select the application with which your file should be played, or choose to save the file to your computer.
Note: You can play video just in preview mode and in published view. The video will not play in edit mode. If you click on the video the right panel with Media Properties will open.
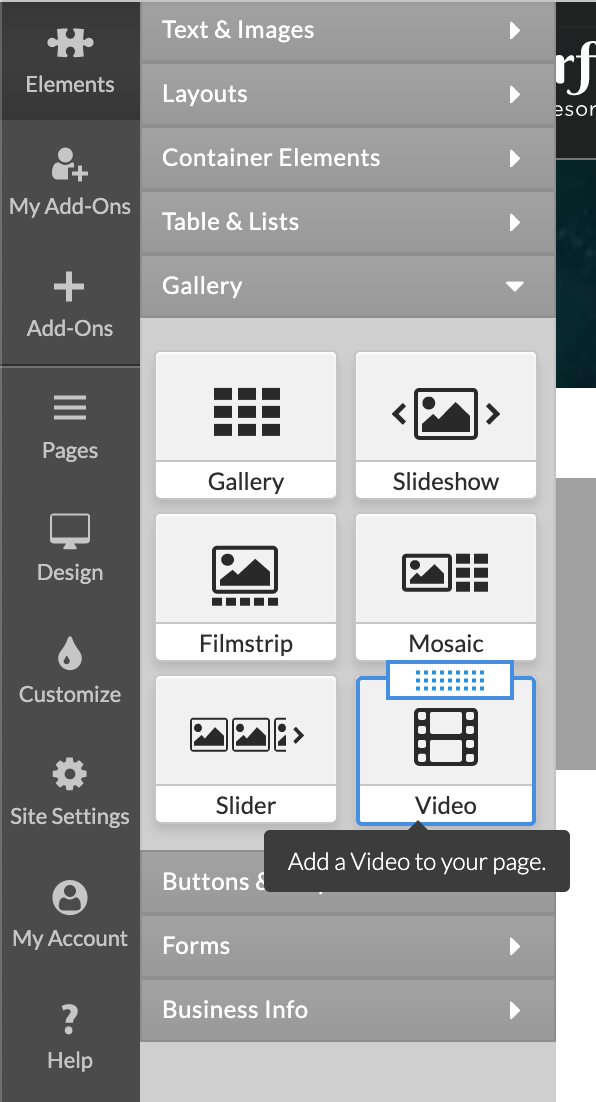
4. Add Video from Element menu
Navigate to the Left Menu, click on Elements, open Gallery tab and drag & drop a Video element to the page.
This option allows you to insert a Media file on the page as a separate content element. The allowed file extensions, settings and behavior are the same as the inline Media Element.
Add Media inside the Text and Images editor
Adding media inside the Text and Images editor takes a few simple steps:

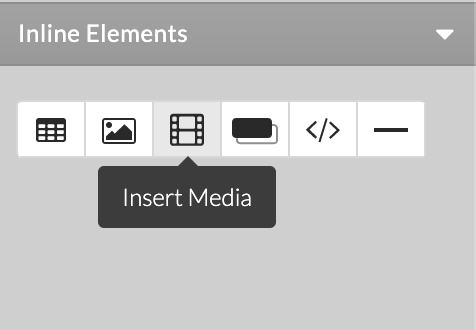
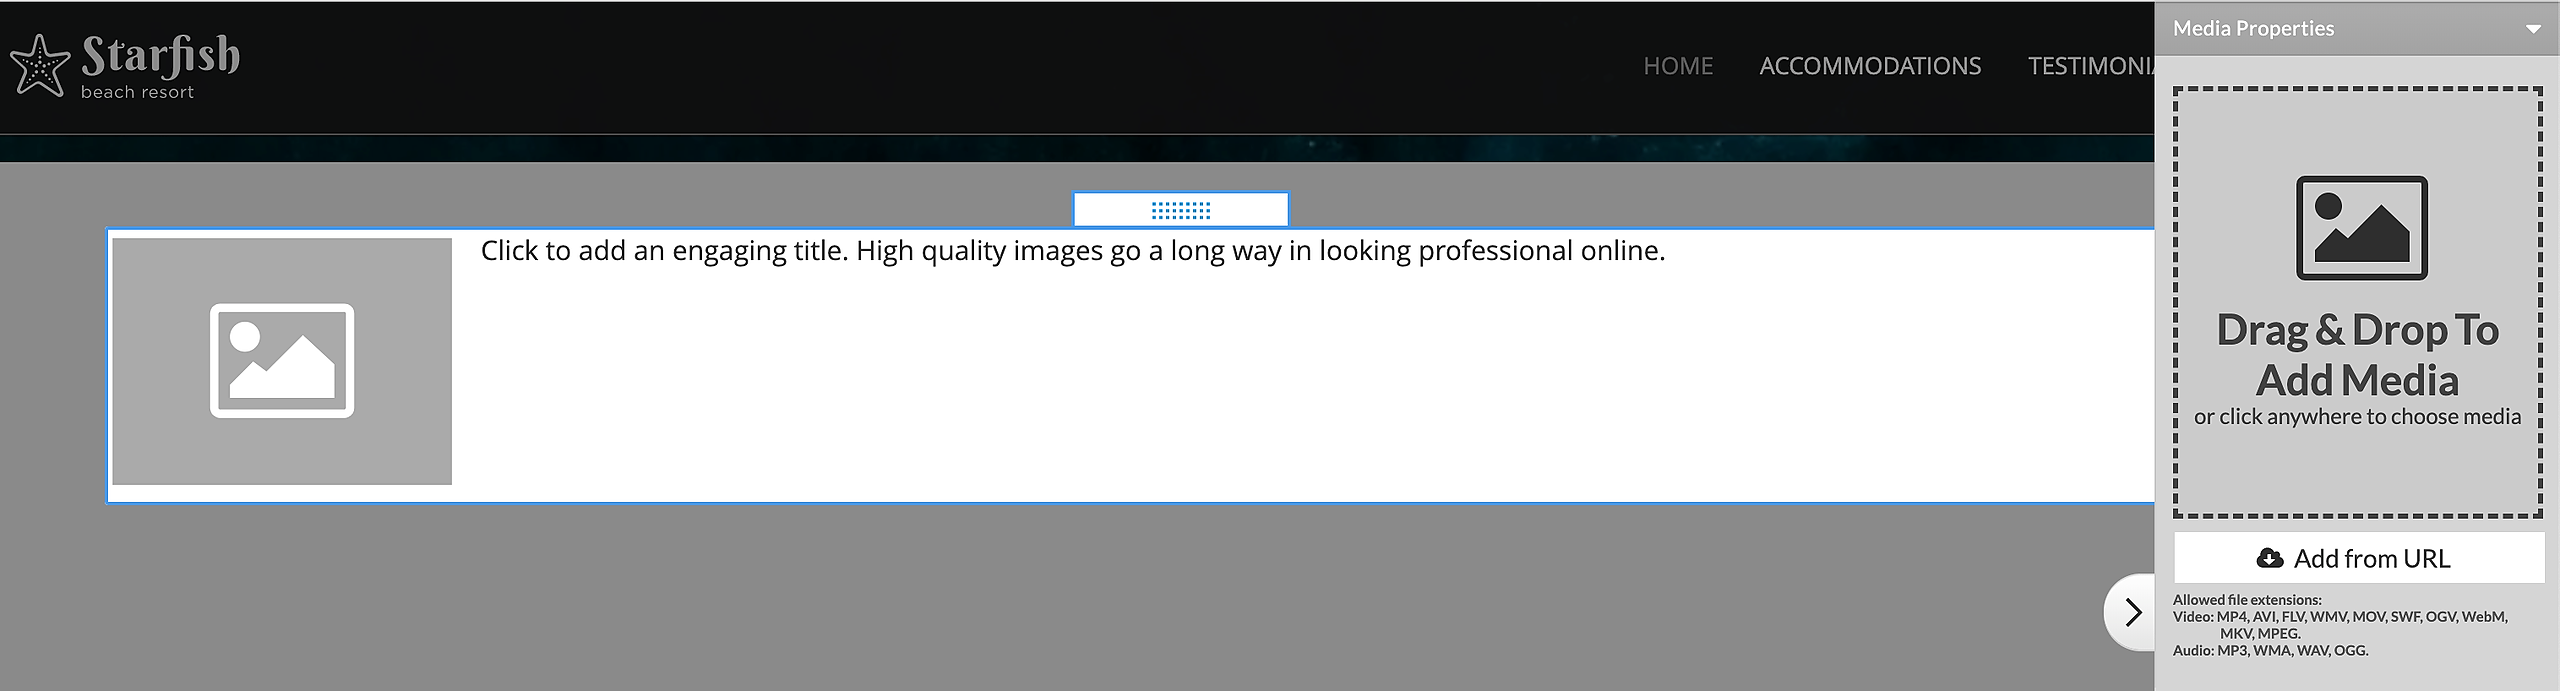
1. Open the editor and click Insert Media icon. An Upload Media panel will open to the right. You can upload a file from your computer or provide the URL for your media if it is available online.
2. You can drag and drop the file from your computer, click on the drag-and-drop are to browse for a file or provide the URL for your media if it is available on-line.
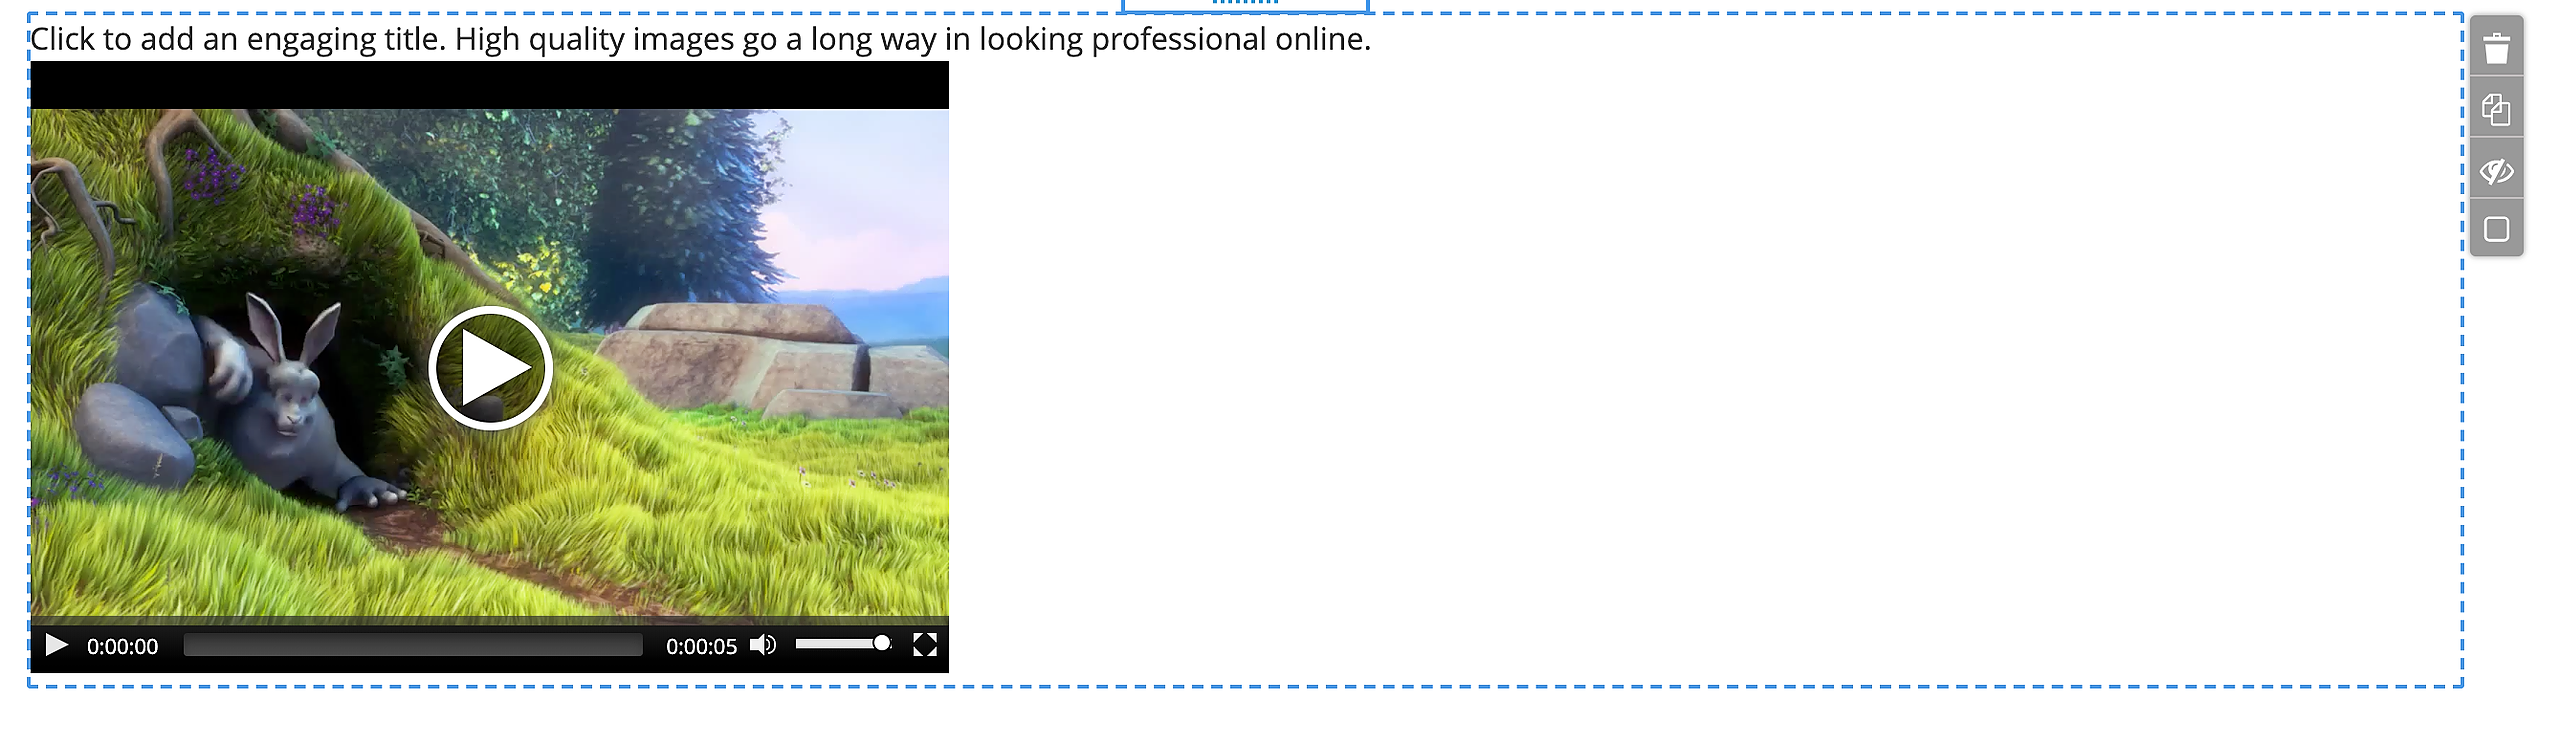
3. When the file upload has finished, a placeholder for the media file will appear. The placeholder shows the positioning of your media file on the page.

4.You can further modify the media properties by clicking on the video. The Media Properties will appear on the right.
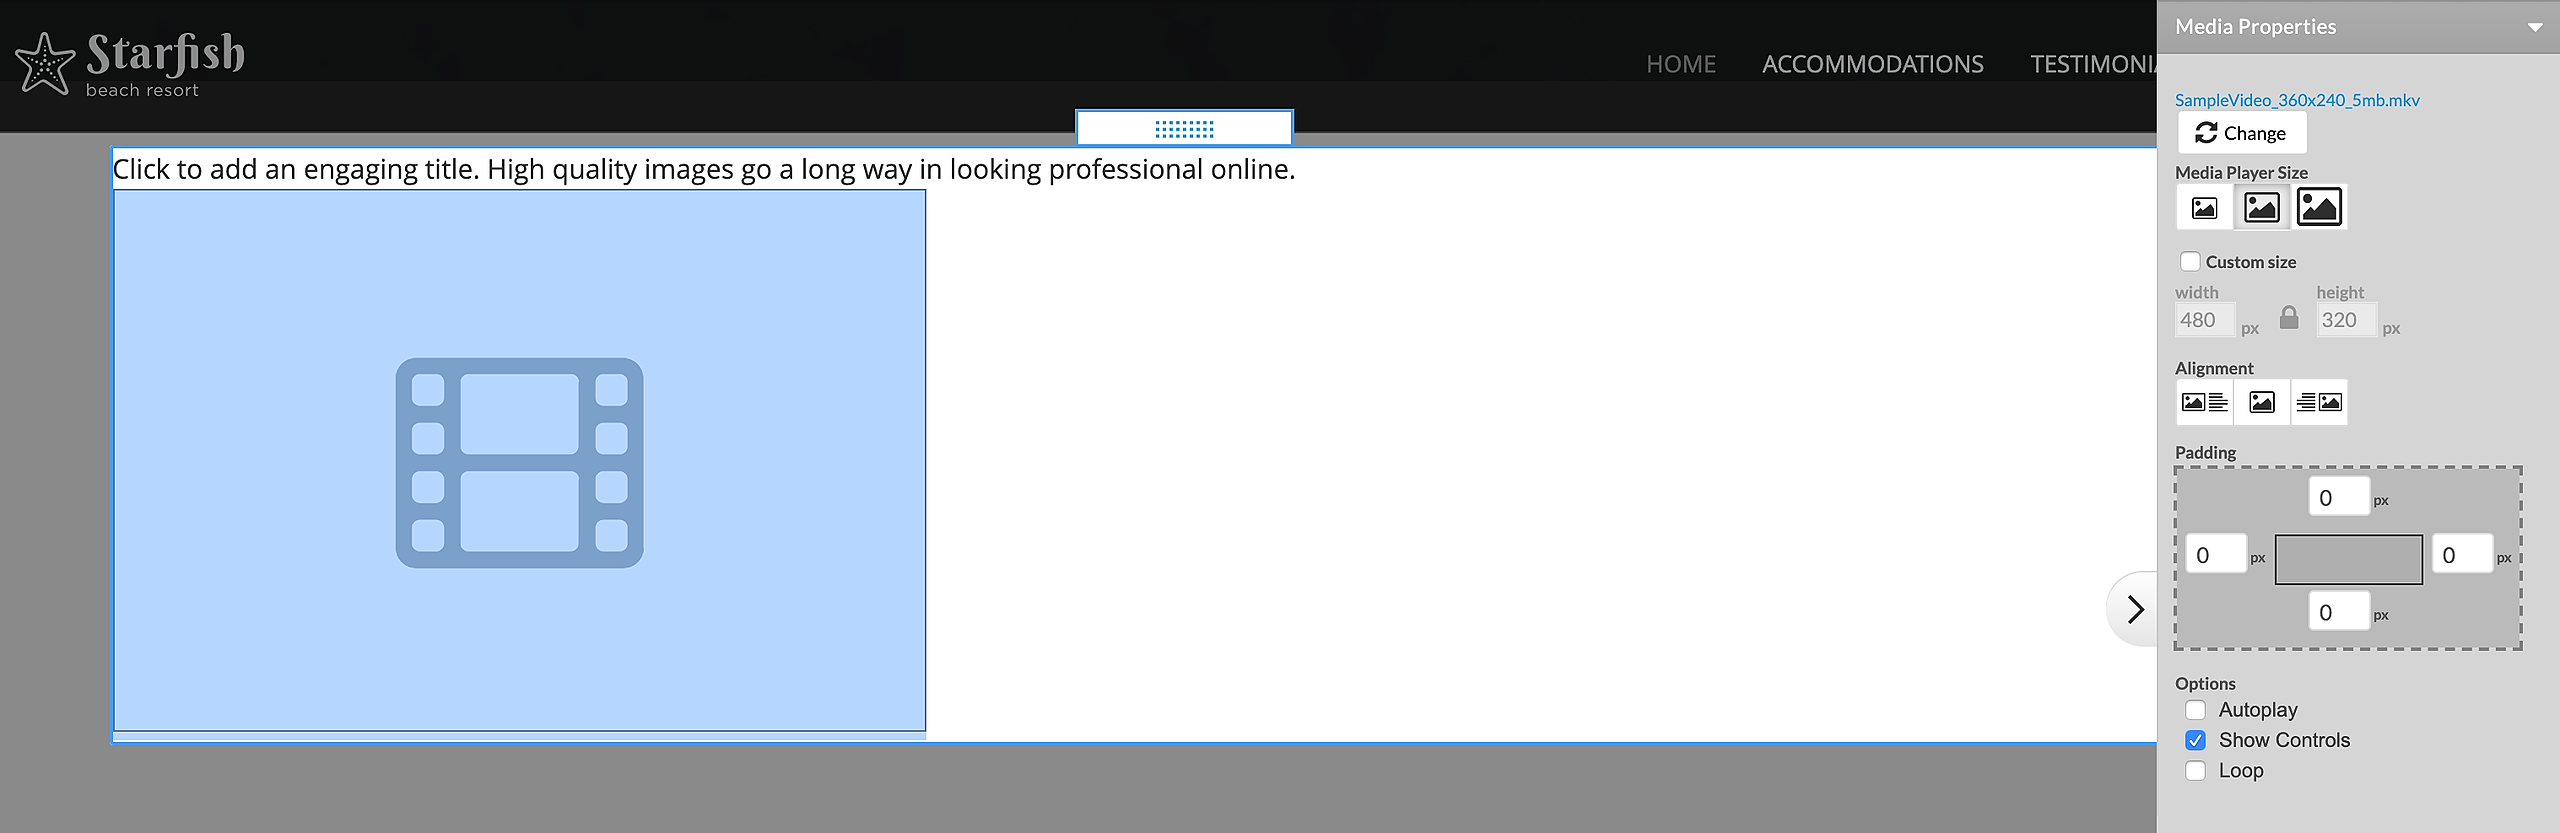
Click on Change button to replace the media file, that is currently uploaded to the element.
Small, Medium and Large, Custom size. For Custom size you can set width and height in pixels. If you click on the padlock , this will lock the aspect ratio so changing one of the dimensions will automatically recalculate the other.
Options allows you to set Autoplay, Show controls of the player and Loop.You can select one, none or combine them.
Color (flash only) sets background behind the flash. Click on the color picker to choose color or check transparent if you wish your flash animation to have no background.
Alignment lets you define how the text will wrap around the media file: Left, Center, Right.
Padding lets you to add padding around the file.
Note: Enable autoplay/loop after you upload and save the media. If you have several media on page, only the first one will be auto played/looped and rest will not. If you have page image video on the page it has the highest priority over the other media as by default it is always autoplayed and looped.