
The Text and Image editor is used for adding and formatting:
Text
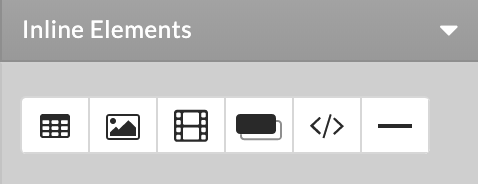
Image
Link
Table
Media (Video, Audio)
HTML Snippet
Horizontal Line
Call to action button
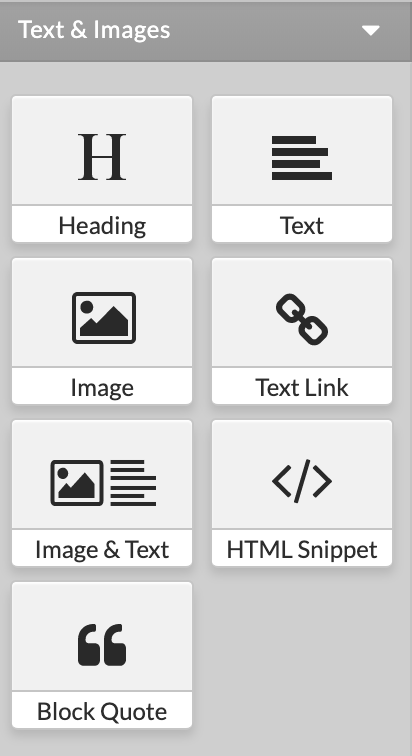
To get started, add a Text and Image element to the page by click Elements, click on Text and Image, drag and drop the desired element. Blue rectangles will show, while hovering over the page, all possible locations where the element may be added. Drop the element and a default Text and Image element will be inserted and in-line editing will be visible to the right. You can type text in content directly, or copy-paste from a document or web page.


When ready, simply click outside the in-line editing window and review your content on the page. If you need to edit the content again simply click inside the element to open in-line editing options and make right menu visible.
The Text and Image editor is similar to any text processing application you may be familiar with. The toolbar on the right of the editor contains all needed tools to format and manage your text and image content.
We'll review the styling and formatting options and general operations like saving, copy-pasting and undoing-redoing changes below.
Applying Styles
The Style dropdown allows to format your text with a number of predefined styles which have been carefully selected to match your website design.
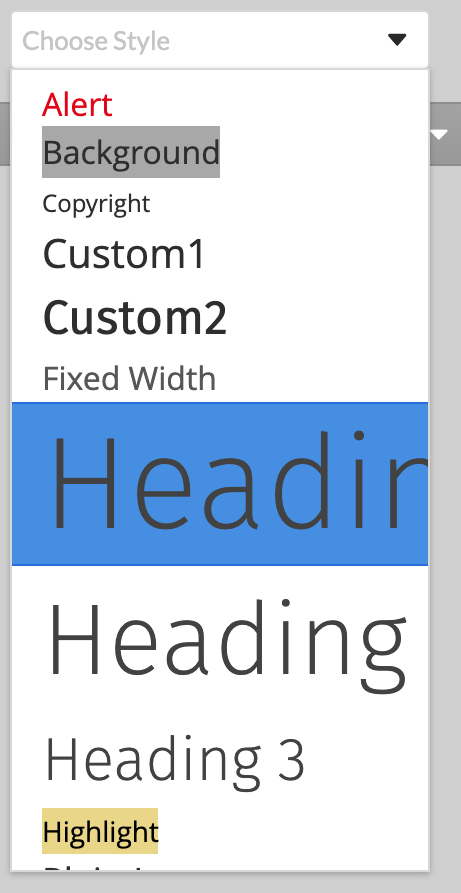
To apply a style, first select the text piece with your cursor, then click on the Style drop-down and select the desired option - e.g. Heading 1.
If you copy-paste content from an external source, its styles will automatically be converted to the ones available for your design to ensure a consistent look and feel.
Formatting Text
The editor includes all standard formatting options allowing you to further update the appearance of your text.
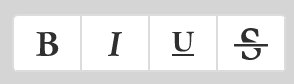
Using this set of icons you can bold, italicize, underline or strike-through a given text piece. Each of these icons also has a keyboard shortcut you may use to facilitate your work - i.e. ⌘ + B for bold, ⌘ + I for italics.
The alignment icons allow you to define the positioning of a given paragraph on the page. You can align it to the left, right, center and justify.

The list icons allow you to create numbered, alphabetical, or bulleted lists.

Using the indent icons you can move a paragraph to the left or right, relative to the rest content on the page.

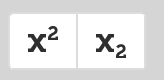
Using these icons you can format and position some text as superscript (smaller and positioned above the row of normal text) or subscript (smaller and positioned below the row of normal text).
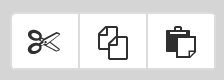
Cut, and copy-paste.
The Cut / Copy and Paste icons allow you to easily move content within the text editor. Select the piece you want to cut or copy, click on the respective icon, then position your cursor on the place where you want to move the selected piece and click the Paste icon. You can also perform these functions using keyboard shortcuts. Highlight the desired content and use ⌘ + X to Cut, ⌘ + C to Copy, and ⌘ + V to Paste.
The Undo / Redo options allow you to undo or redo the last editing changes which have not yet been saved. Those can be found in the Top Menu bar.

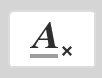
The Clear Formatting button strips-off any predefined formatting of a selected text and resets it to Plain text.
When you are ready with content updates simply click outside of the editor to apply your changes on the page.