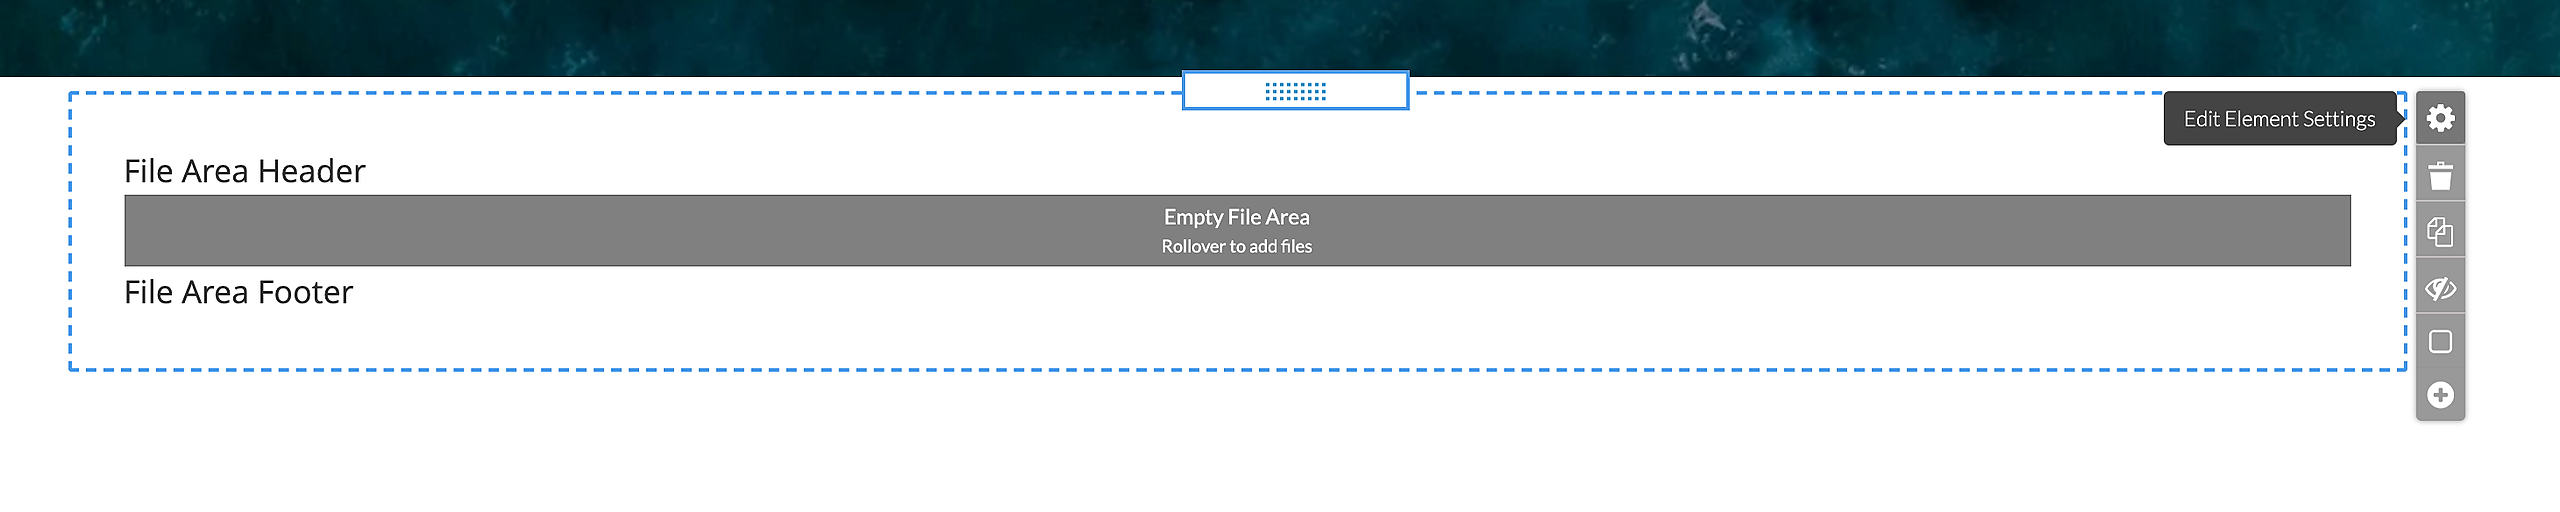
File Areas allow you to add files to your site and define the appearance of your file links. To add a File Area click Elements > Buttons & Shapes > File Area and drag-and-drop the element on page. Blue rectangles will appear to indicate the locations where a form may be dropped.
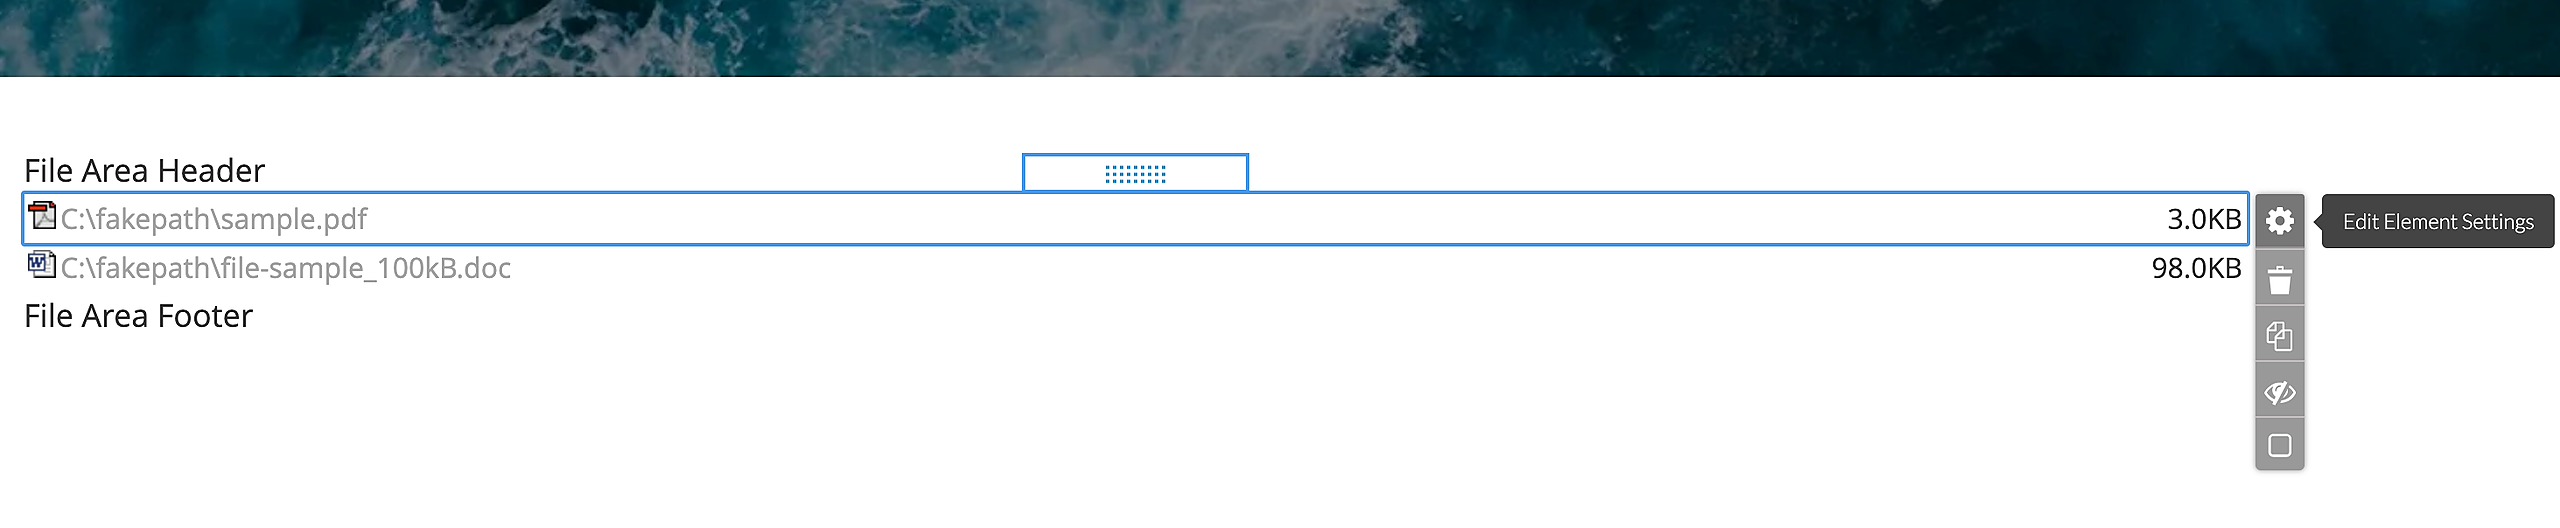
After adding a File Area on a page, click on the wheel icon to edit the File Area Properties
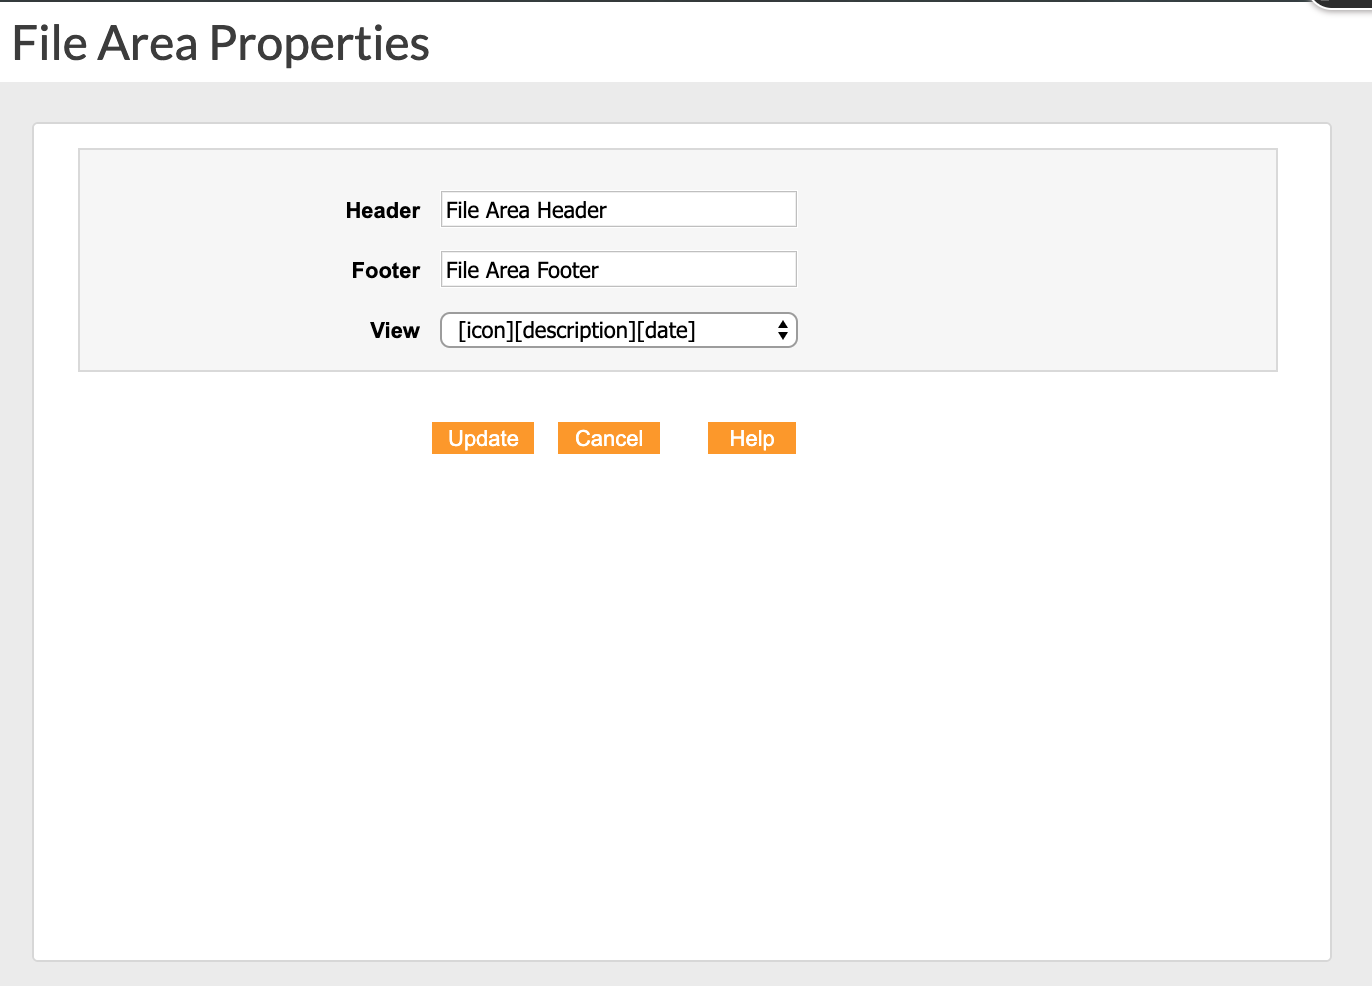
The Header and the Footer of a file area are the text displayed above and below the file area. In View dropdown you may select the information to be displayed for each file - the file icon, description, size, date and comment. You may also choose to display the files in columns, rather than one below the other. An option for large file icons is also available.
Below is an example of file view: [icon] [description] [size]
Add Files
To add Files to a File Area, roll over the File Area and click on the icon. The Add File popup will be displayed.

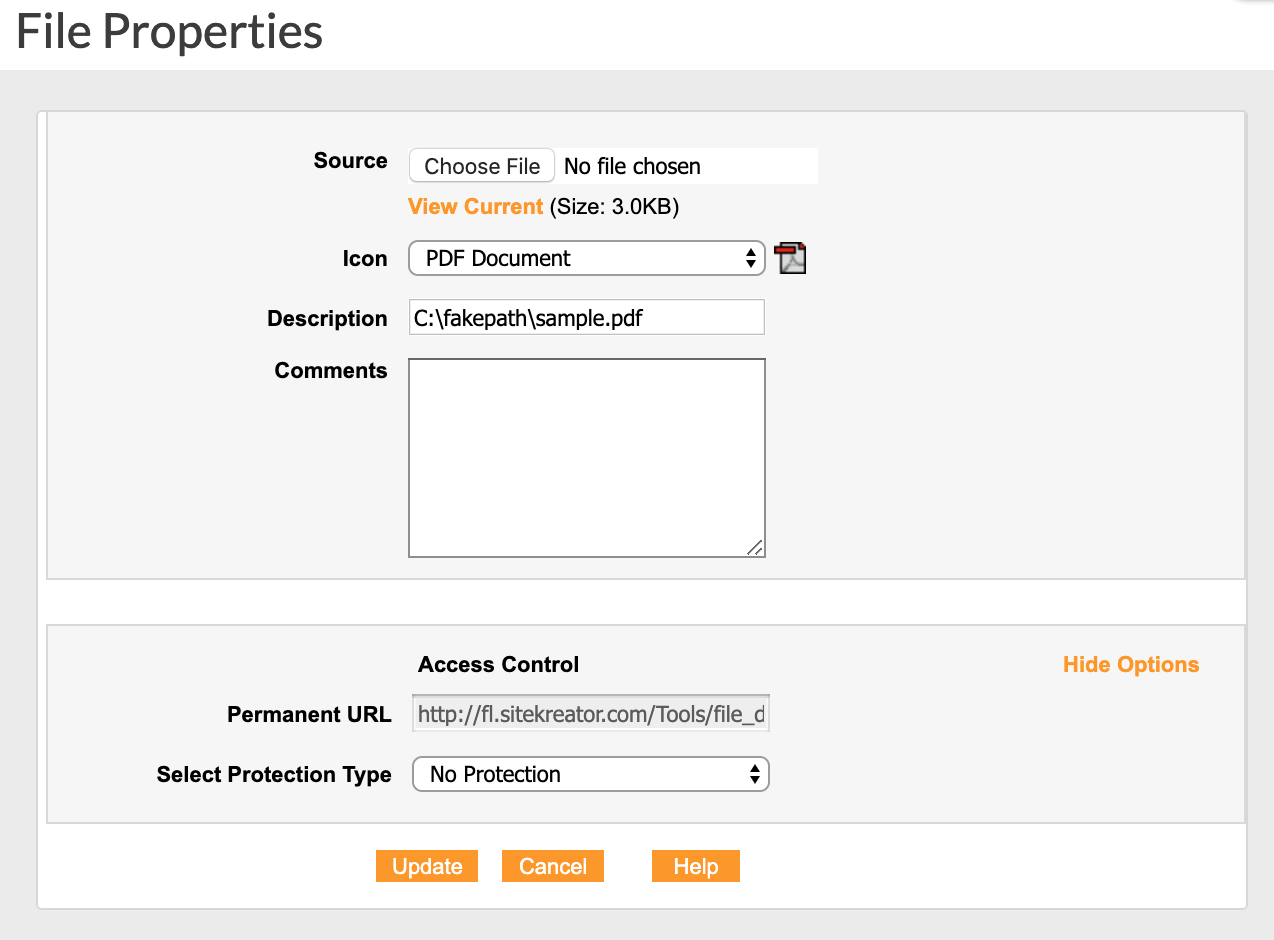
In the Source field browse for any *file stored on your local disk. Depending on your file format, you may choose an Icon to be displayed for this file. The text entered as file Description and Comments will only be displayed if the File Area View includes description and comments.
*Up to 120MB | Except: .exe/.dll/.bat/.sys
The file Access Control section displays the options for viewing the Permanent URL, and protection of the file by a common Password.

The Permanent File URL does not change, and is therefore, the ONLY URL that should be used when linking to this file. The Permanent File URL is visible to copy only after the file has been uploaded, and it becomes active once the page has been published.

To get the Permanent URL of a file, roll-over the existing file and click on it's icon. Navigate to the Access Control area again and copy the URL.
NOTE: Moving a File Area changes the Permanent URLs of existing files. Be sure to update any references to the original URLs as they will stop working the next time the page where the File Area was originally located is Published.